 Palworld
Palworld How to Unlock Hard Mode Towers

Quick Answer: Defeat all eight normal Tower Bosses in Palworld first. Once every standard tower boss has been cleared in Normal Mode, the Hard Mode versions unlock and can be challenged even if you still have unfinished story objectives.
Prerequisites
Before you can start Palworld How to Unlock Hard Mode Towers, make sure the basics are covered:
- Required progress: defeat all eight normal Tower Bosses in Normal Mode.
- Required party: a high-level combat team built for sustained boss damage and survivability.
- Required items: strong weapons, plenty of ammo, healing items, and mobility tools.
- Required preparation: a base setup that can refill supplies quickly between attempts.
- Required difficulty: no special difficulty setting is required; the unlock is tied to boss clears, not to story completion.
- Required patch awareness: Hard Mode Towers are a later-game challenge, so confirm you are on the current live version before you chase a guide written for an older state of the game.
The key point is that the unlock is progression-based, not item-based. You do not need to find a hidden switch, complete a special quest chain, or wait for a story flag to flip. You need the full set of normal tower victories. That makes the task simple to describe but demanding to execute, because the game expects you to have already learned each boss’s pattern well enough to beat them once. The moment the final normal tower boss falls, the Hard Mode variant becomes available.
That also means this is not a one-off unlock. It is a check on your overall progress through Palworld’s tower content. If one tower is still uncleared, the hard version stays locked. If all eight are done, the hard version opens up without any additional errands. In practice, that is why players often miss the unlock: they have beaten most of the towers, returned to base, and assumed the feature should already be there.
Fastest Working Method
The fastest working method is to clear every normal Tower Boss once, then revisit the tower list and challenge the Hard Mode versions as soon as they appear.
The shortest route is straightforward:
- Finish every normal tower boss fight in the game.
- Keep track of any tower you may have skipped or forgotten.
- Return to the tower you have not cleared yet and defeat its boss in Normal Mode.
- Check the tower again after the last clear and confirm the Hard Mode option is now available.
- Enter Hard Mode only after you have a stronger build than you used for the normal clear.
This is the direct answer for players asking Palworld How to Unlock Hard Mode Towers: there is no separate puzzle to solve. The unlock condition is simply all eight normal boss clears. The practical challenge is making sure you actually have all eight and not seven. Because the towers are spread across the map and boss progression can be done out of order, it is easy to believe you are finished when you are not.
A good way to move quickly is to treat the normal clears as a checklist. If you do not remember which bosses you have already beaten, revisit each tower one by one rather than guessing. The time you lose on a double-check is usually less than the time you waste chasing a locked hard tower that has not actually opened yet.

You might also like
- Palworld Beginner Guide: First Steps, Resources, and Common Mistakes
- Palworld 1.0 release date patch notes: full release explained
- Palworld Legendary Blueprints in the Version 0 2 0 6 update: Beginner Guide
- Palworld Beginner Guide: First Steps, Priorities, and Common Mistakes
- Palworld Fastest Flying Mounts: Best Flying Pals to Unlock in Order
How The Unlock Works
Hard Mode Towers unlock only after you defeat every normal Tower Boss once, regardless of the order you fought them in.
The important detail is that the game checks completion, not campaign stage. If you have already beaten a tower boss on Normal Mode, that victory counts. You do not need to repeat the same tower on a higher difficulty first, and you do not need to clear story content before the unlock appears. According to the referenced guide material, you can challenge Hard Mode even if you still have story objectives left, because the unlock condition is tied to the tower-boss requirement alone.
That makes the unlock system very readable once you know what to watch for. Think of it as a collection gate. Each regular tower boss is one required piece. Once the last piece is in place, the hard-mode content becomes visible and selectable. If one piece is missing, nothing changes. The tower stays in its normal state.
The same source also notes that the bosses in Hard Mode use new attacks that hit much harder than their regular versions, and many of those attacks are AoE patterns or long beam barrages that keep tracking you even if you dodge away. That matters because it explains why the unlock exists as a late-game challenge rather than a reward for early exploration. Hard Mode is not just more health on the same fight. It is a more aggressive version of the encounter that expects cleaner positioning, better damage windows, and tighter resource control.
One useful mental model is this: normal towers teach you the boss. Hard Mode tests whether you learned the fight or only survived it once. If you can beat Zoe, Lily, Axel, Marcus, Faleris, Victor, Saya, and Auri in their standard fights, the game considers you ready to attempt the harder versions. If you have not done all eight, the system does not move forward.
Step-By-Step Unlock Guide
You unlock Hard Mode Towers by clearing each normal tower boss, then checking the tower interface again after the final victory.
Step 1. Identify which normal towers you have already cleared
Start by reviewing your tower progress and making a list of every normal boss you have defeated. Do not rely on memory if you have been playing for a while, because tower clears are the kind of milestone that can blur together after several sessions.
Typical examples include early towers like Zoe’s and later ones such as Auri’s. If you remember beating a boss but cannot recall whether it was on the standard tower or a later rematch context, verify it in-game rather than assuming it counted. The unlock only cares about the normal tower clears, so certainty matters here.
Step 2. Finish any missing normal boss fight
Travel to the tower you have not cleared yet and beat the boss in Normal Mode. This is the actual unlocking action. Nothing else substitutes for it.
A practical approach is to prepare for the weakest part of the fight you struggled with before. If a boss gave you trouble because of ranged pressure, bring better mobility and healing. If your Pals were being deleted too quickly, you may need to shift toward personal damage and more durable support options. The unlock does not care how elegant the victory was; it only cares that the boss is defeated.
Step 3. Confirm that all eight normal bosses are done
After the final clear, go back to the tower list and make sure the game now recognizes the full set of normal victories.
The source material is explicit that all eight normal Tower Bosses are required. It also says Zenara is not required for the unlock, though she can be unlocked later. That means you should not chase every adjacent boss-like objective you hear about; stick to the eight normal tower targets that actually count.
Step 4. Reopen the tower content and look for the Hard Mode option
Once the last normal boss falls, revisit the tower and confirm the Hard Mode version is available.
This is the point where many players expect a cutscene or dramatic message, but the unlock is usually more mechanical than flashy. The change is that the hard version becomes available to challenge. If you do not see it immediately, step back out and re-enter the relevant interface rather than assuming the unlock failed.
Step 5. Enter Hard Mode only after you are ready for a much harsher fight
Do not jump in with the same casual setup you used for normal clears.
The hard bosses come with a massive stat boost, new attacks, and higher damage pressure. The recommended play is to come in later in the game, with stronger gear and a more developed support setup. If you try to force the fight too early, you will burn supplies and learn very little from the attempt.
What Changes In Hard Mode
Hard Mode changes the tower fights enough that you should treat them as new encounters rather than repeat battles.
The biggest difference is pressure. The bosses hit much harder than their normal versions, and their attack sets are expanded. The source material calls out two recurring patterns: AoE attacks and beam barrages that keep tracking you even after you dodge away. In practical terms, that means movement alone is not always enough. You need to move with intent, break line of fire at the right moments, and avoid wasting your stamina or dodges too early.
Hard Mode also adds allies depending on the boss. These allies can be both Pals and humans at level 70, and they cannot be caught. That means they are pure combat problems, not recruiting opportunities. You cannot turn them into part of your own team after the fight, so your only useful response is to remove them efficiently.
The stat boost matters as much as the new attack logic. On paper, a tower boss might feel familiar because the arena layout is the same, but the fight rhythm is different once the numbers are scaled up. You are more likely to run out of ammo, heal through tighter margins, and lose Pals before you can cycle your next opening. That is why preparation matters more than raw confidence here.
A good way to think about Hard Mode is to compare it to the normal tower in three separate layers:
| Layer | Normal Tower | Hard Mode Tower |
|---|---|---|
| Damage pressure | Manageable with average gear | Significantly higher and more punishing |
| Attack patterns | Familiar boss kit | New attacks, often with AoE or tracking beams |
| Supporting enemies | Usually simpler | Extra allies may appear, including level 70 Pals and humans |
That table is not about exact stat numbers, because the guide data does not provide them. It is about the practical difference you will feel the moment you enter the fight. If your normal strategy depended on soaking a few hits and healing later, Hard Mode is where that habit starts to fail.
How To Prepare Your Build
A strong build for Hard Mode Towers should prioritize survivability, reliable damage, and control over long fights.
The best preparation is usually a balanced one. You want enough firepower to punish openings, enough mobility to survive tracking attacks, and enough sustain to avoid collapsing after one mistake. Palworld’s tower fights reward a setup that can recover from imperfect play. If your build only works when everything is clean, Hard Mode will expose the weakness fast.
Focus on three areas:
- Weapons: bring your strongest reliable boss-killing weapons, not just whatever looks flashy.
- Healing: stock enough restorative items to survive repeated attempts without needing a base trip after every loss.
- Pals: choose combat partners that help with burst damage, pressure, or survival rather than utility Pals that are more useful at home.
Examples of useful prep choices include long-range weapons for keeping distance during beam patterns, fast-repositioning tools for cutting across the arena, and damage-oriented Pals that keep attacking while you dodge. If a boss spawns allied units, choose attacks that can hit multiple targets or quickly delete the adds before they consume your attention.
Your base matters here too. Hard Mode attempts are easier when your storage, crafting, and healing loop are close together. A clean preparation loop lets you restock quickly after a failed run, which is important because the fights are harsh enough that you should expect retries. The faster you can re-enter the tower with corrected loadout choices, the quicker you identify what actually works.
Another practical point is stamina discipline. Hard Mode’s tracking attacks punish panic movement. If you sprint and dodge too early, you may arrive at the dangerous phase with no resources left to escape. That is why a steady rhythm often outperforms frantic repositioning.
Common Pitfalls
Players usually miss the unlock because they misread the requirement, not because the game hides it well.
- You beat most towers but forgot one normal boss. This happens because tower progress is spread across the map and easy to lose track of. The fix is to revisit every normal tower and confirm the last clear instead of trusting memory.
- You think you need story completion first. That assumption is common because many games gate hard content behind campaign progress. The fix is to remember that the only requirement here is defeating each normal boss once.
- You are checking the wrong boss set. Some players confuse tower bosses with other progression targets. The fix is to verify that you have all eight normal Tower Bosses, not just eight major fights of any kind.
- You enter Hard Mode with normal-mode gear. That usually fails because the bosses receive a massive stat boost and new attack pressure. The fix is to over-prepare with stronger weapons, healing, and a more deliberate build.
- You ignore the extra allies. The hard fights can include level 70 Pals and humans, and they cannot be caught. The fix is to treat adds as a priority target and bring tools that can remove them quickly.
- You keep fighting as if the tower is unchanged. Hard Mode adds new attack behavior, especially AoE and tracking beam patterns. The fix is to relearn the fight rhythm and respect the wider attack coverage.
Common Mistakes
The most common mistakes are simple execution errors that look like a bug until you trace the requirement carefully.
1. Assuming the unlock is tied to a quest
Players often think there must be a hidden quest step because the tower content feels special. The reason they fall into this trap is that the game does not shout the requirement at them in a big cinematic way. The fix is to treat the unlock as a checklist completion: every normal Tower Boss must be defeated once.
2. Skipping one tower and not noticing
This mistake is easy to make if you progress out of order or return to the game after a break. The fix is to re-check every normal tower, especially the ones you did early in the run. One missing boss means no Hard Mode access.
3. Expecting the first hard fight to feel like normal mode with bigger numbers
That expectation comes from other games that simply scale health and damage. The fix is to prepare for new attacks, tracking beams, and extra allies. Hard Mode asks for a different response, not just more patience.
4. Bringing a fragile build and calling it “skill testing”
Players sometimes enter too early with a glass-cannon setup because they want a fast clear. The reason this fails is that tower bosses in Hard Mode can punish one mistake with huge damage. The fix is to balance offense with enough sustain to recover mid-fight.
5. Forgetting that allies are not capturable
Some players see a human or Pal on the field and assume the usual catch rules might apply. The fix is to ignore that line of thinking and focus on defeating them through combat, since the guide material states they cannot be caught.
Verification
You know the unlock worked when the tower’s Hard Mode version becomes available after your last normal boss kill.
The cleanest in-game signal is simple: once you have defeated all eight normal Tower Bosses, the hard version should be selectable or visible when you revisit the tower content. That is the confirmation state you are looking for. If the hard option is still missing, one of the required normal clears is still incomplete.
A second confirmation is practical rather than cosmetic. If you can enter a Hard Mode Tower and encounter the boss with its upgraded attack patterns, stat boost, and added allies, the unlock is real. The change is not a hidden achievement reward or a new crafting item. It is access to the harder tower encounter itself.
So the verification loop is:
- Check that the last normal boss is dead.
- Reopen the tower interface.
- Confirm the Hard Mode challenge is available.
- Start the fight and verify the tougher behavior appears in practice.
If you want a quick sanity check before committing to a full run, use the tower selection screen first. That tells you whether the unlock flag is set before you spend supplies on a boss attempt.
Faster And Alternative Approaches
There is no true skip for the unlock itself, because the game requires all eight normal Tower Boss victories.
That said, there are faster ways to reach the unlock condition more efficiently:
- Clear towers as you encounter them instead of leaving several for later. This reduces the chance that you lose track of one missing boss.
- Use a deliberately overbuilt normal-mode loadout so each required clear takes less time and fewer retries.
- Keep a tower checklist in your head or on a separate note so you do not have to re-run the entire map blindly.
- If you are already deep in the game, return to the last remaining normal tower and finish the unlock before spending time on side goals.
There is also a strategic alternative for players who do not want to rush Hard Mode immediately after unlocking it: delay entry until your gear, Pals, and healing stock feel comfortable. The unlock does not expire, and the guide material recommends attempting the fights later in the game because the bosses receive a massive stat boost. In other words, you can unlock the content now and challenge it later when your build is more complete.
That is the best compromise for most players. Unlock the towers as soon as possible, then choose the moment of your first serious Hard Mode attempt based on readiness rather than curiosity. You do not gain anything by throwing yourself into the hardest version under-geared, and you do not lose the unlock by waiting.
Pro Tips
The players who clear Hard Mode Towers consistently tend to prepare for specific encounter behaviors, not just raw boss HP.
Tip 1. Save your best burst for the add phase
When a tower boss brings allied units, the fight becomes much easier if you delete those supports first. Keep your strongest burst tools for the moment the extra enemies appear so the arena does not become crowded with distractions.
Tip 2. Dodge after the beam has committed, not before
Tracking beams are designed to punish early movement. Watch the boss’s animation, then dodge once the pattern is truly committed. Burning stamina too soon is a common reason players get clipped anyway.
Tip 3. Build for repeat attempts, not just one lucky clear
Hard Mode is punishing enough that your first attempt may be a scouting run. Bring enough healing and ammo to learn the fight without forcing an immediate base return after every failure.
Tip 4. Bring damage that remains useful while you reposition
Weapons or Pals that keep contributing while you move are more valuable here than flashy setups that demand standing still. The tower fights reward consistent output during movement-heavy phases.
Tip 5. Re-enter with the same loadout until you know the failure point
Changing too many variables after every loss makes it hard to learn what actually caused the wipe. Keep your setup stable for a few attempts so you can identify whether the issue is healing, damage, or add control.
Tip 6. Treat every normal tower as part of the unlock path
Even one forgotten tower stops progress. If you are planning a fresh run, clear each normal tower as soon as you are comfortable enough to do it, rather than saving them all for the end.
Related Guides
- Palworld Breeding Combos
- Best Early-Game Pals
- Palworld Tower Boss Weaknesses
- Best Weapons for Boss Fights
- How to Build a Strong Base in Palworld
- Palworld Late-Game Progression Guide
- How to Farm Ammo Efficiently
- Best Pals for Combat Support
Sources
- https://game8.co/games/Palworld/archives/611874
- https://steamcommunity.com/app/1623730/discussions/0/4414172471680440422/
See also
- Palworld UE-Pal Exception Access Violation Bug Fix: Beginner Guide
- Palworld Beginner Guide
- Palworld All Player Attack Boosting Partner Skills Beginner Guide
- Palworld Beginner Guide
- Palworld Not Found Session 91 Bug Fix: Beginner Guide for New Players
- Palworld What Carries Over to Version 1 0 Beginner Guide
- Palworld Beginner Guide: First-Hour Tips, Priorities, and Common Mistakes
- Palworld List of Pals that Improve Carry Capacity: Beginner Guide
- Palworld How to Get More Base Pals
- Palworld Version 1 0 Release Time and Countdown Beginner Guide
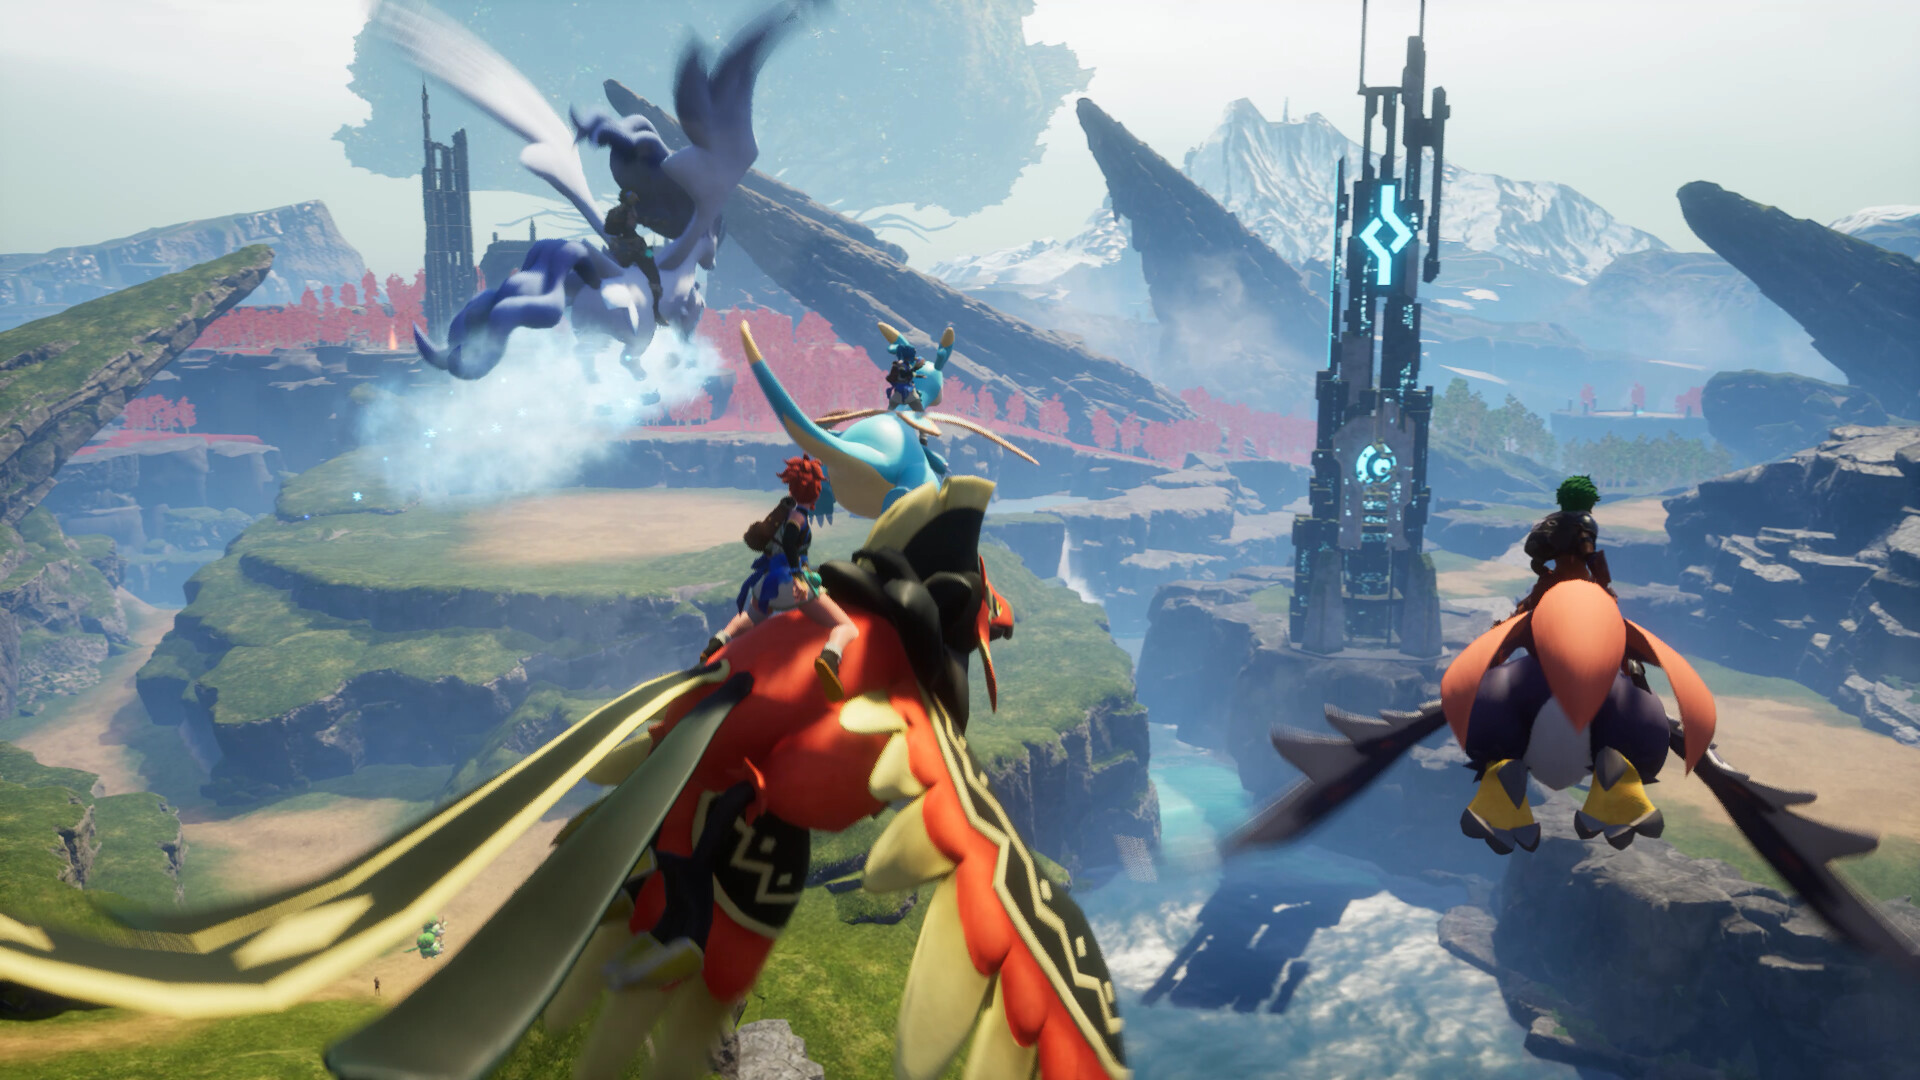
Screenshots


Reviewed by
Palworld Guides Editorial
Expertise: Editorial team behind Palworld Guides. Content is compiled from official patch notes, community wikis, and playthrough notes, then reviewed and updated on schedule.
Sources
Palworld Progression Guides →
Browse the complete progression collection and its focused guides.
Related Guides





🔥 Popular Guides

Palworld complete guide to base building in palworld: Complete Base Building Guide
Learn Palworld base building with layouts, automation tips, Pal management, locations, and advanced strategies for efficient bases.
Palworld Points of No Return — What You Cannot Undo
Palworld points of no return explained: story locks, base relocation limits, and Pal releases you cannot undo. Know these before you progress.
Idiosyncratic Passive Skill Palworld — Effect, Stacking & Best Pals
Idiosyncratic boosts a Pal's unique trait in Palworld. Learn the exact effect, whether it stacks, which Pals have it, and when to keep or breed it out.
Palworld Hartalis Slab Fragment Beginner Guide
Learn what Palworld Hartalis Slab Fragment is, how to handle it, early priorities, mistakes to avoid, and when you’ve outgrown beginner status.
📋 Patch Notes & Updates
🛠️ Popular Tools
Was this guide helpful?
Rate this guide so we can improve it.
Share your own tip
Found something not in the guide? Submit it below — our editors review every tip before publishing. No account required.